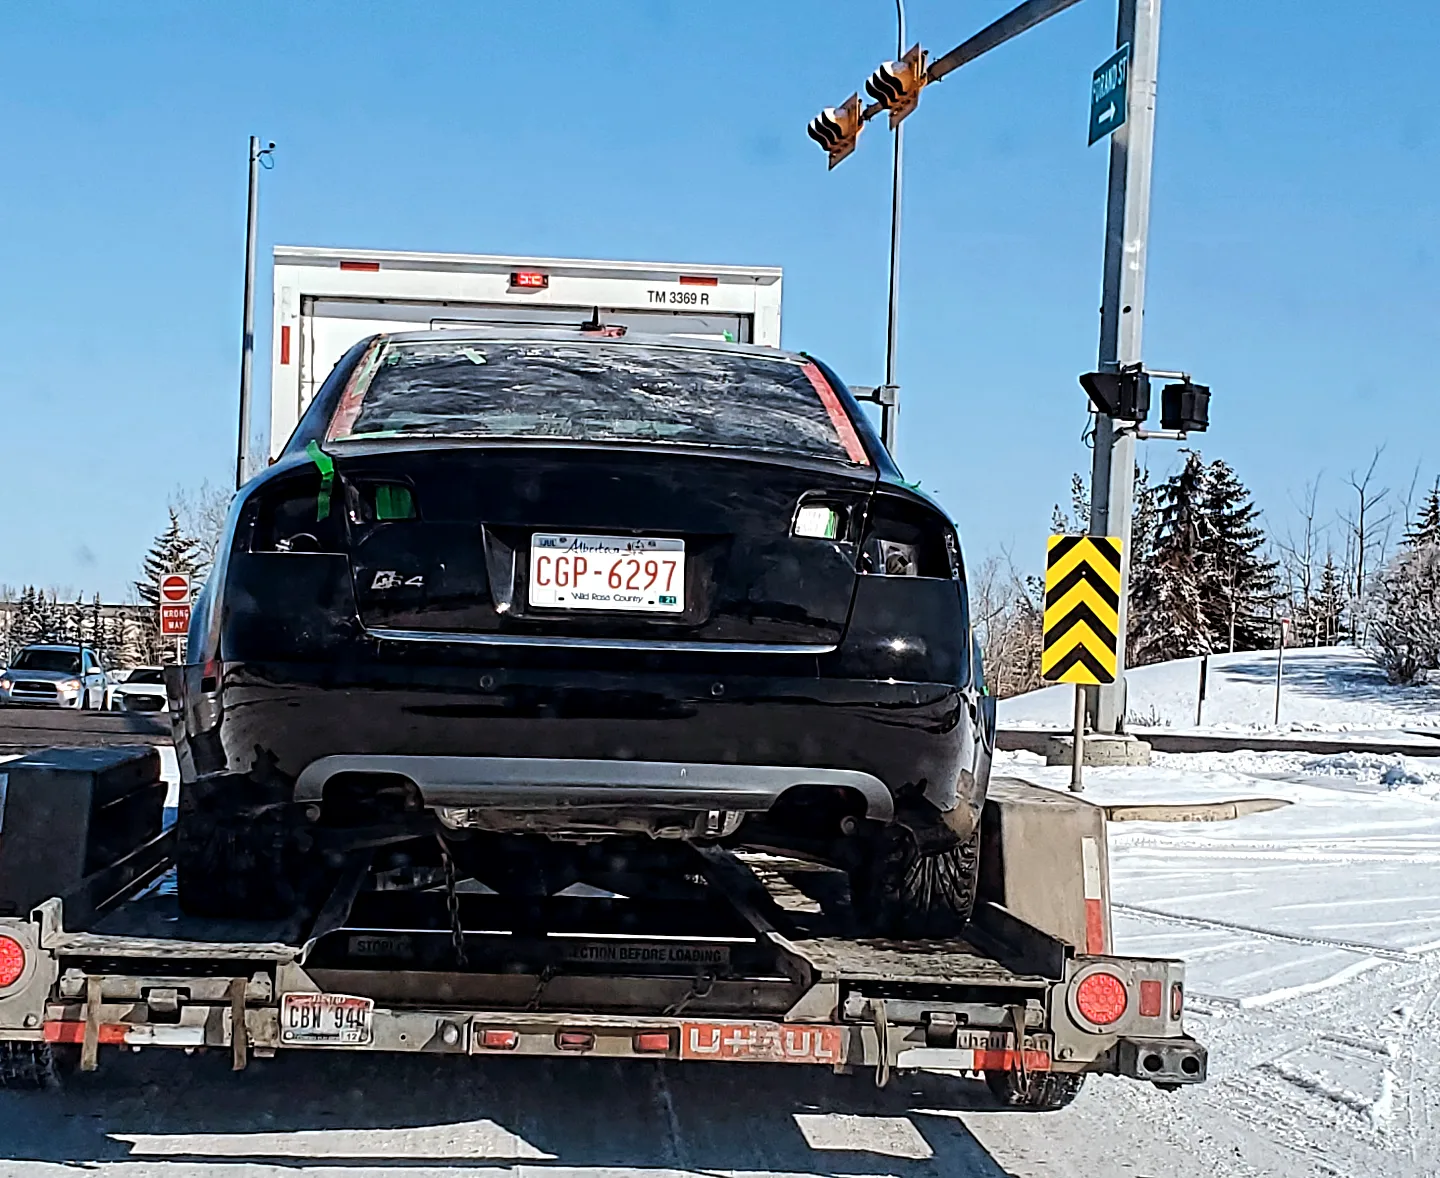
A girls dream car rebuild, my 3 year long project!
My fiancé and I embarked on a rebuild project with a 2006 Audi S4, not fully aware of the challenges ahead. The dismantling process revealed that many car components had been overlooked for years and were due for replacement. The flex pipes were corroded from rust, and the O2 sensor bolts were immovable. Attempts to lubricate the nuts with WD40 proved futile, despite multiple applications. Ultimately, we had to use a Sawzall to cut through the exhaust pipes. The flex pipes were in such poor condition that the flex pipes detached due to the amount of corrosion as we were sawing through the pipes. This led to the next step: taking out the engine. I was excited to install the Audi RS4 headers I had purchased to enhance the V8 engine's performance. During the removal of the front fenders, headlights, belly pan, and bumper, I discovered a significant crack in the radiator support near the passenger headlight, necessitating the replacement of the entire radiator support. Additionally, a squeaky fan within the radiator support required attention, which we addressed with another application of WD40. The removal of the radiator support exposed a substantial amount of old engine grease. I applied WD40 generously to the engine, around where the old headers once were, and in around any nooks and crannies of the engine. I allowed it plenty of time to soak and loosen the accumulated grime. I was uncertain if the grease would loosen up, but the WD40 did the job! Installing the new RS4 headers turned out to be an incredibly challenging task. Initially, they were designed for a manual vehicle, whereas mine is automatic, requiring a much tighter fit. To install the headers on the Audi, it necessitated removing the entire engine, leading to the replacement of several parts. Determining that I didn't want to undergo this process again, I replaced the engine and transmission mounts, the snub mount, and installed a lightweight flywheel, new brake lines, and added a tuned ECU from Jackal Motorsport. The tricky part involved one person maneuvering beneath the car while another gently guided the engine hoist forward, figuring out how to navigate the header pipes through the firewall tunnel. As novices to such a project, we enlisted the help of two friends: Shaun, an adept welder, and Percy, a jack-of-all-trades. Shaun's assistance was limited as he required the car at his shop for further aid, though he offered to craft a sexy custom exhaust. Percy, after hours of tinkering, managed to help us determine the correct angles for threading the header pipes through the tunnel. After years of laborious decision-making regarding the bodywork, countless hours invested, and frequent changes of mind, we faced the reality of our situation. Now in the third year of this project, the car has received significant updates. I've purchased new front fenders due to excessive rust, making repairs unfeasible. I undercoated the wheel wells from front to back, with rust treatment applied inside the rear wheel wells prior to coating. It now sports a more aggressive front bumper, complementing the V8's stance. After a visit to my friend Shaun's welding shop, the Audi boasts a custom-made stainless-steel exhaust. The car is loud and proud, emitting the menacing growl of a contemporary muscle car. As the project approaches completion, the car has been freshly painted and is set for wrapping on May 27th. Certain trim pieces have been temporarily detached to ease the wrapping process. This project could not have been accomplished without all the support we recieved from our friends and your product assisting me throughout the process. It enabled me to tackle just about everything from every squeaky door, rusted nut, and greasy part effectively. If you want to see my full process with this project, I included some screenshots of my Instagram uploads. Please check out my Instagram tag: fst_blk_v8


